Set Up Videos

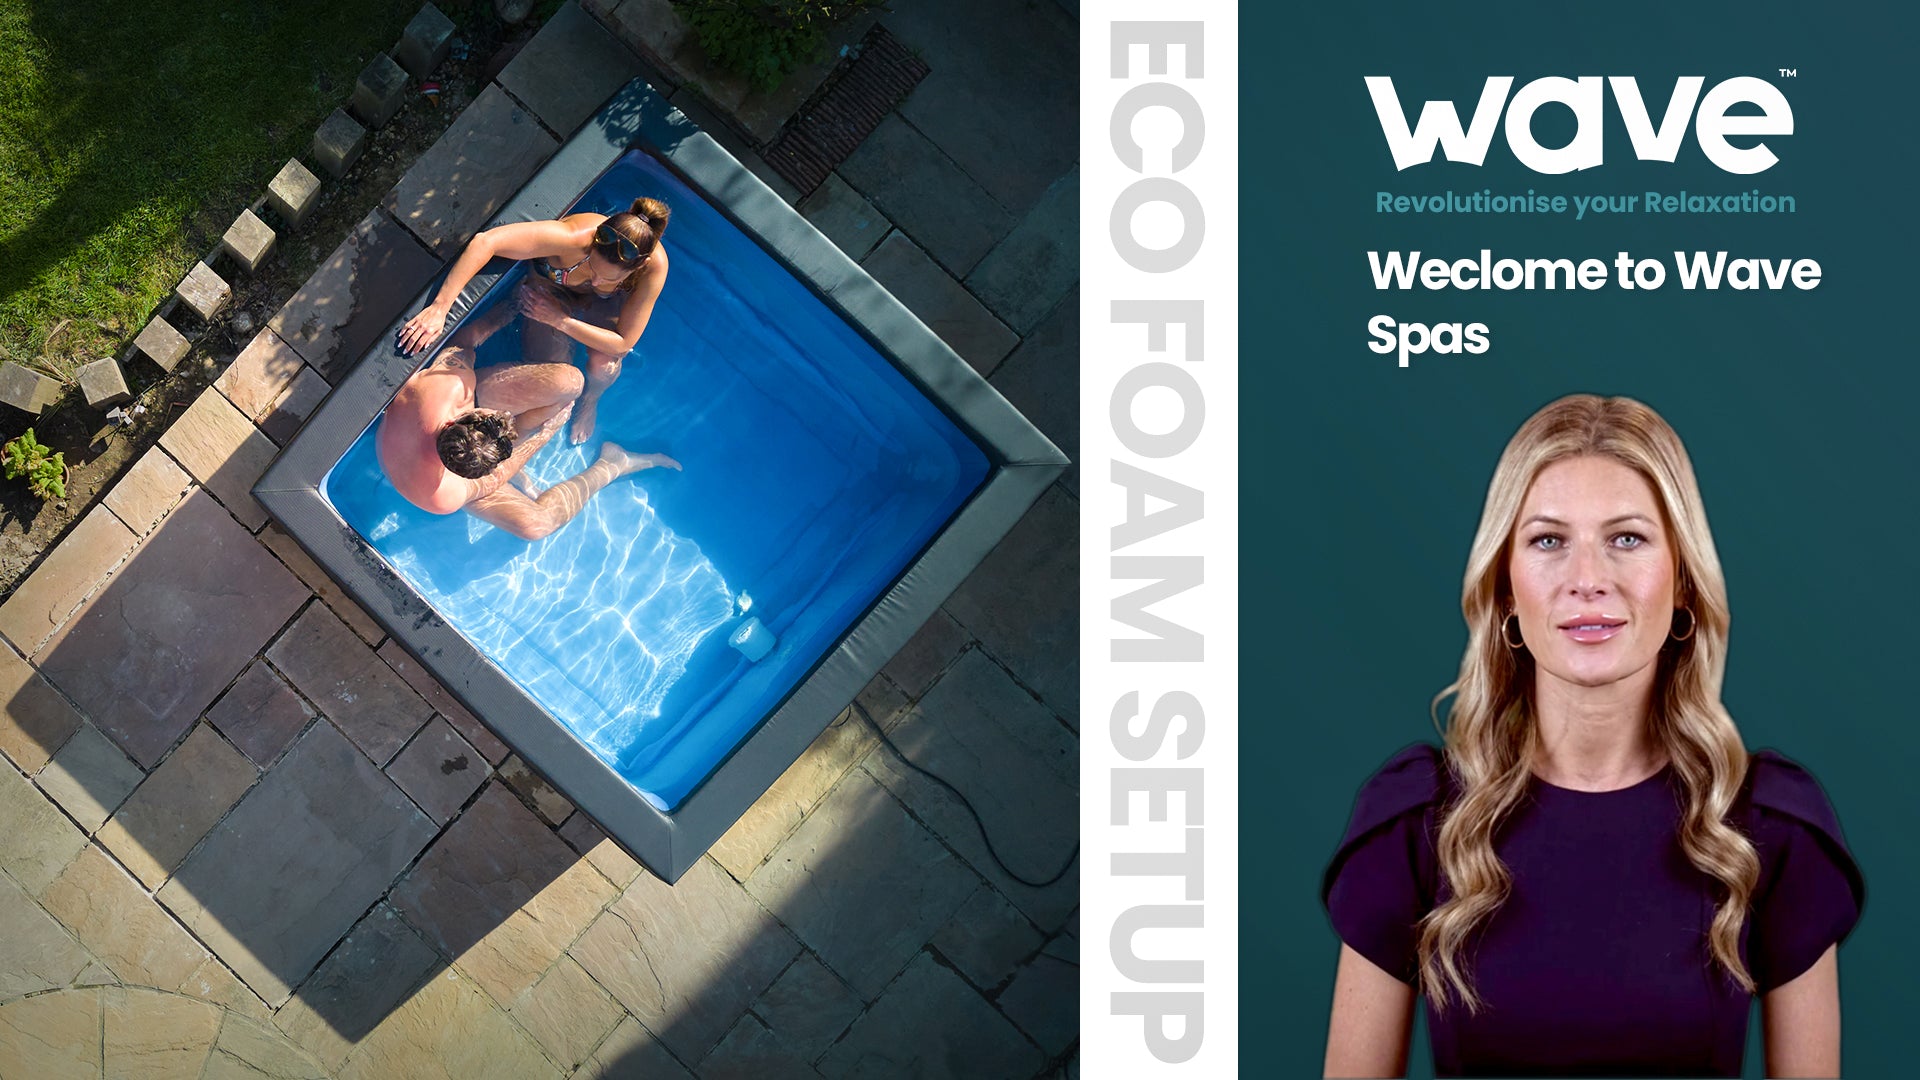
Rigid Eco Foam Spas Set Up Video

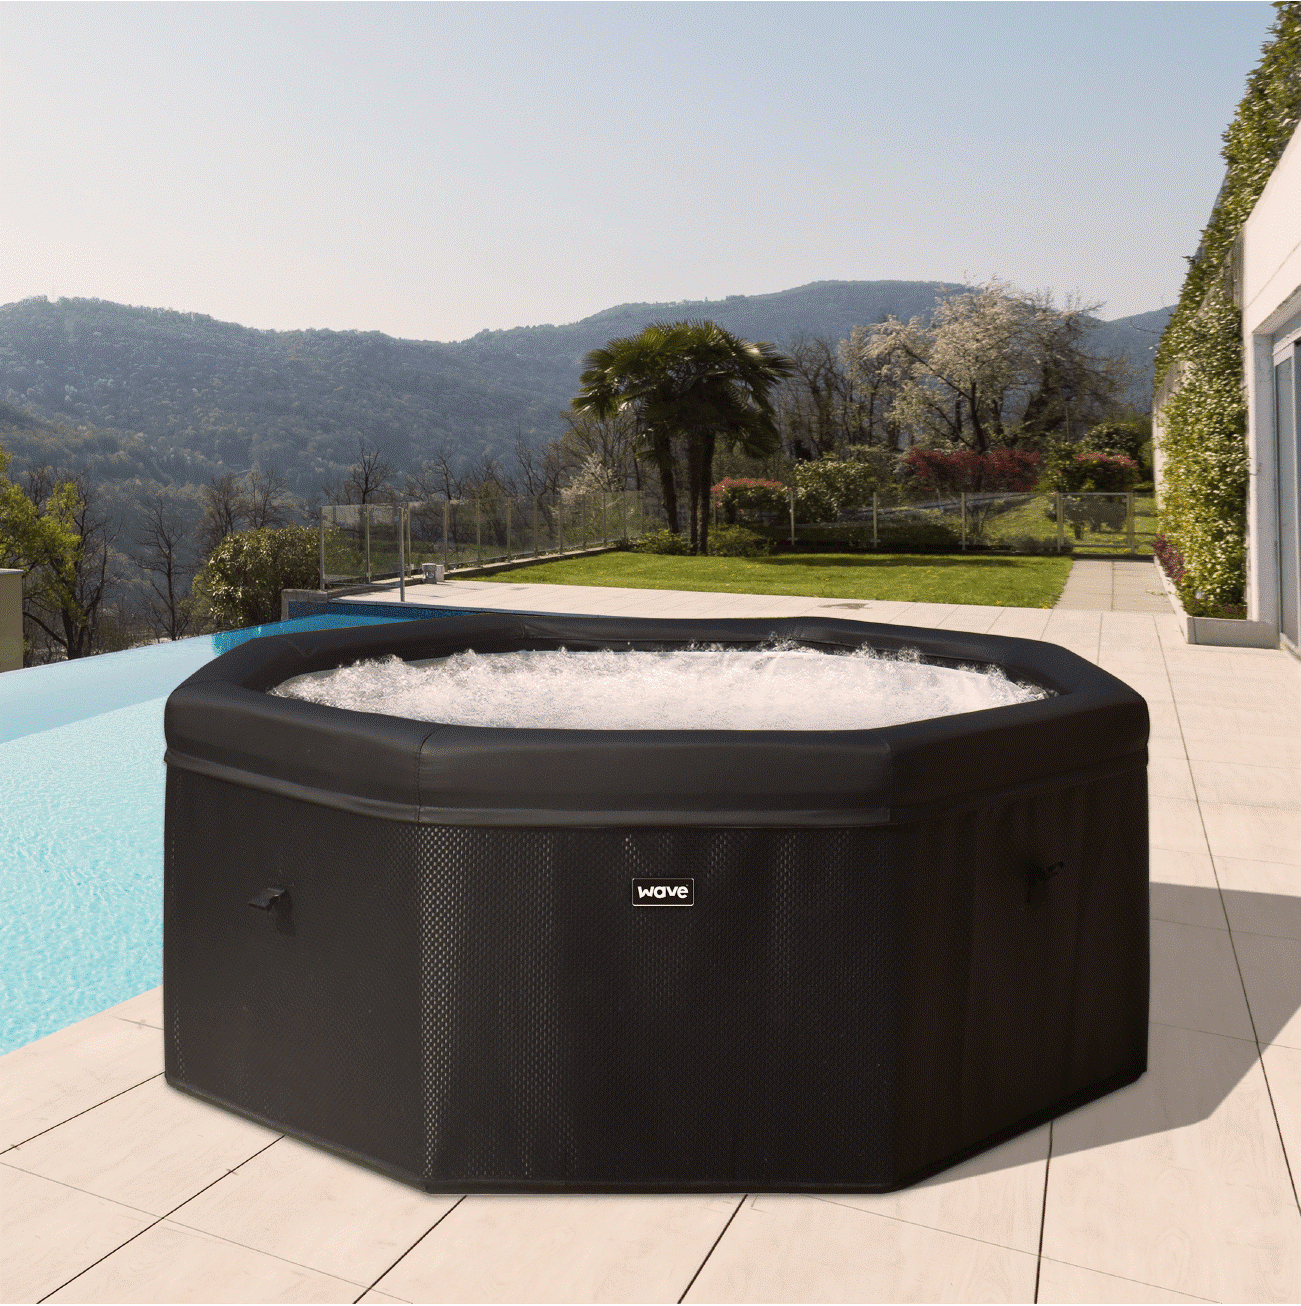
Inflatable Spas Set Up Video
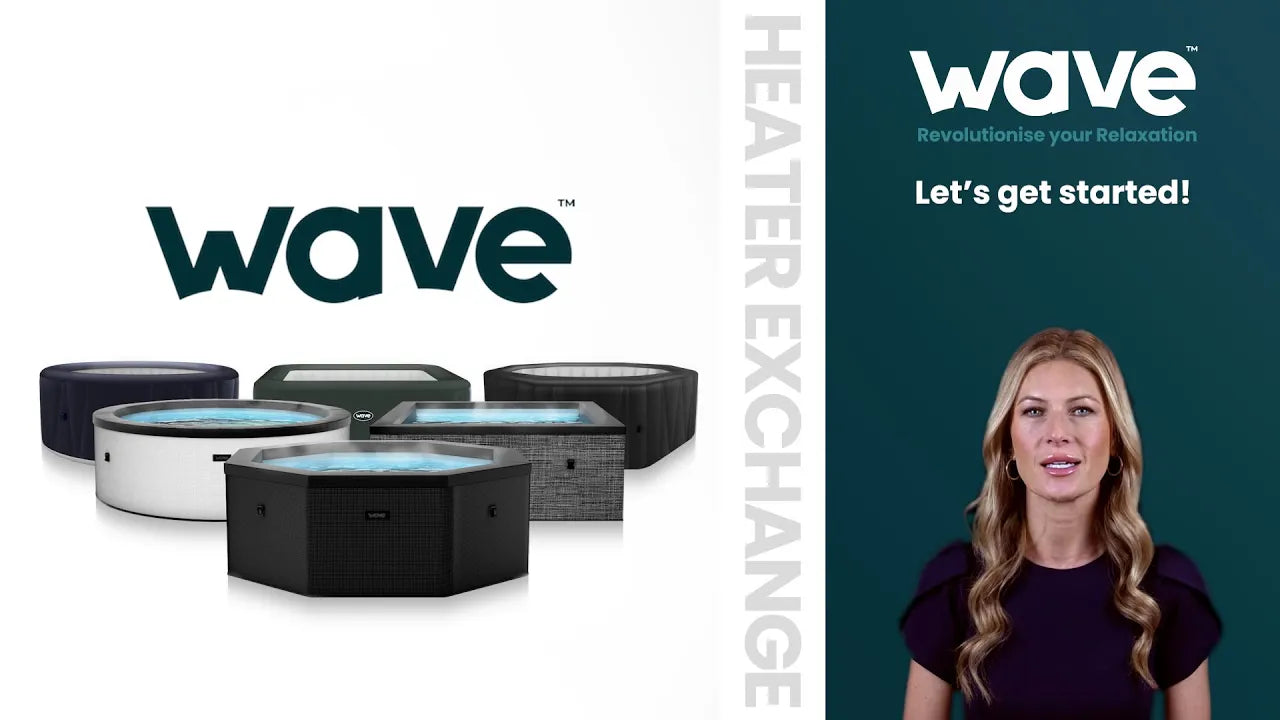
How to Exchange Your Wave Spa Heater
Spa Care Blogs
Get top tips on how to care for your spa in our blogs

Christmas Shopping and Returns
'Tis the Season: Christmas Deliveries and Returns at Wave The festive season is upon us, and here at Wave, we want to ensure your Christmas shopping experience is as smooth as unwrapping the perfec...

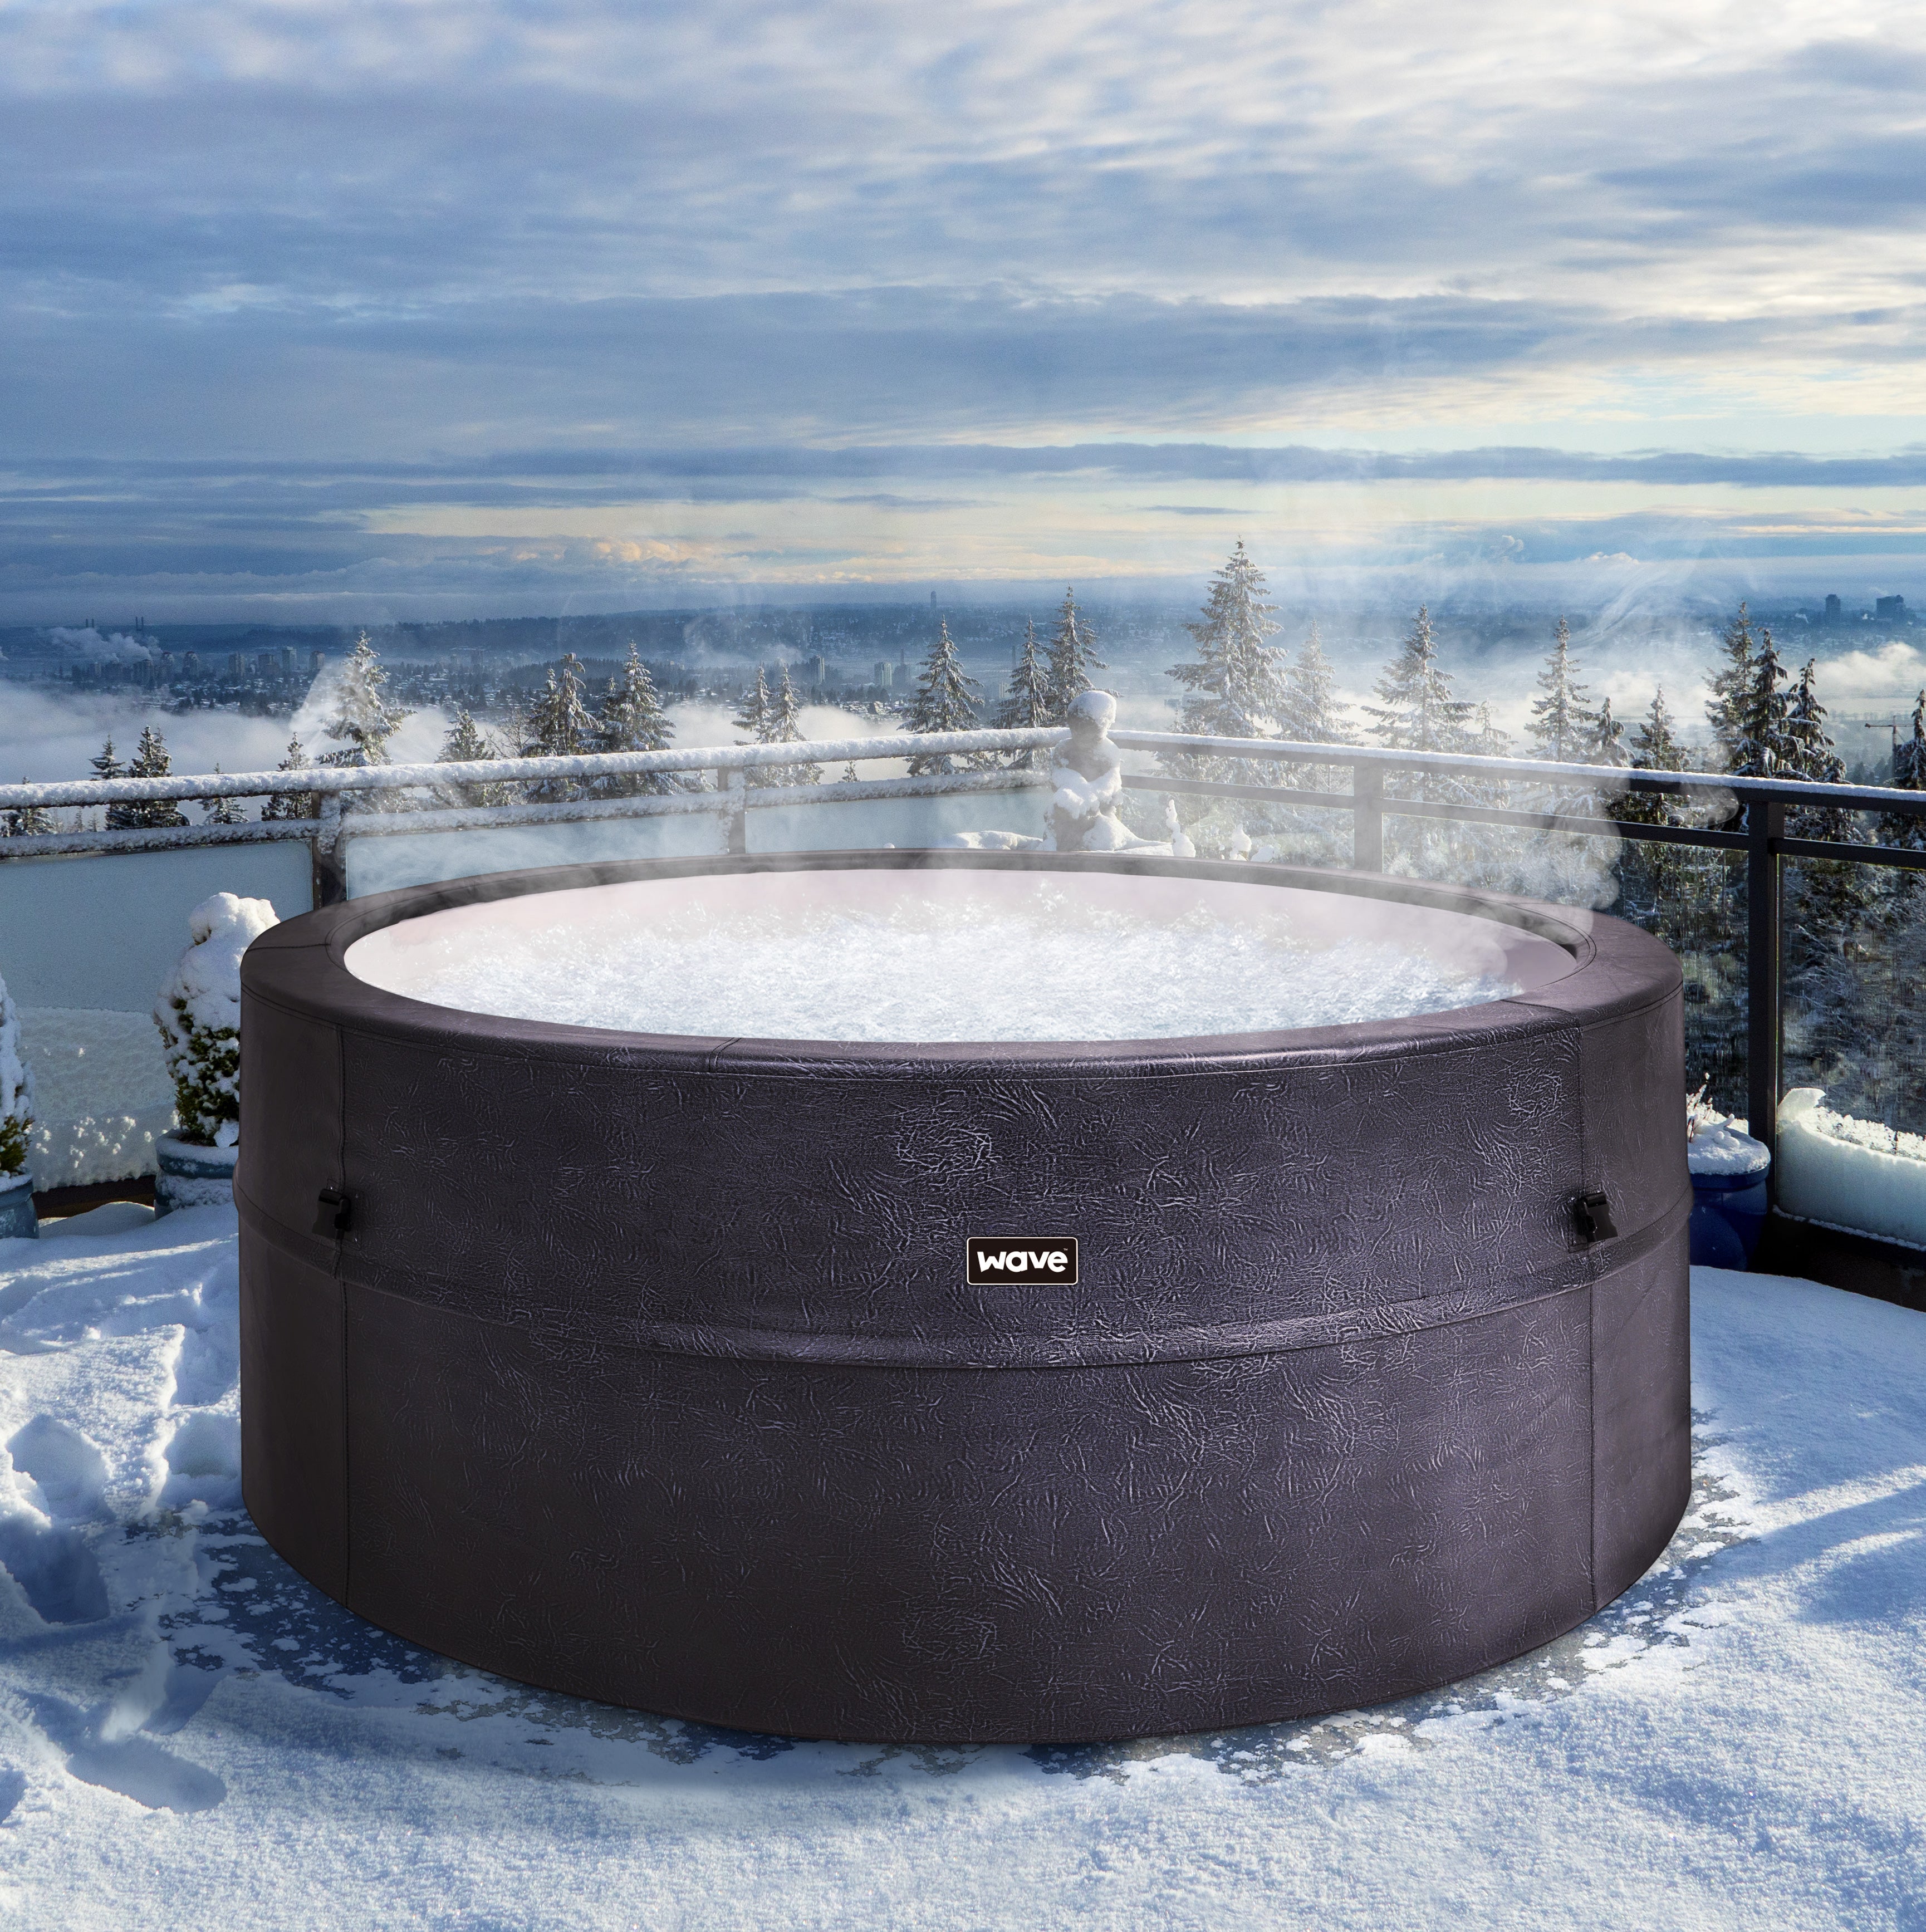
Getting Your Wave Spa Ready for Winter
First thing’s first We just wanted to point out that plenty of people love using their Wave Spa all year round. In fact, several of us at Wave HQ prefer winter use. What could be better than sittin...

4 Mental Health Benefits of Enjoying a Hot Tub
Hot tubs have been known for their physical health benefits for centuries, but in recent years, research has also shown that they can have a significant impact on our mental health. Reduce stres...
Our most asked questions...
View all of our FAQs if you have further questions. Our team of pros are on hand to help if you have a specific question
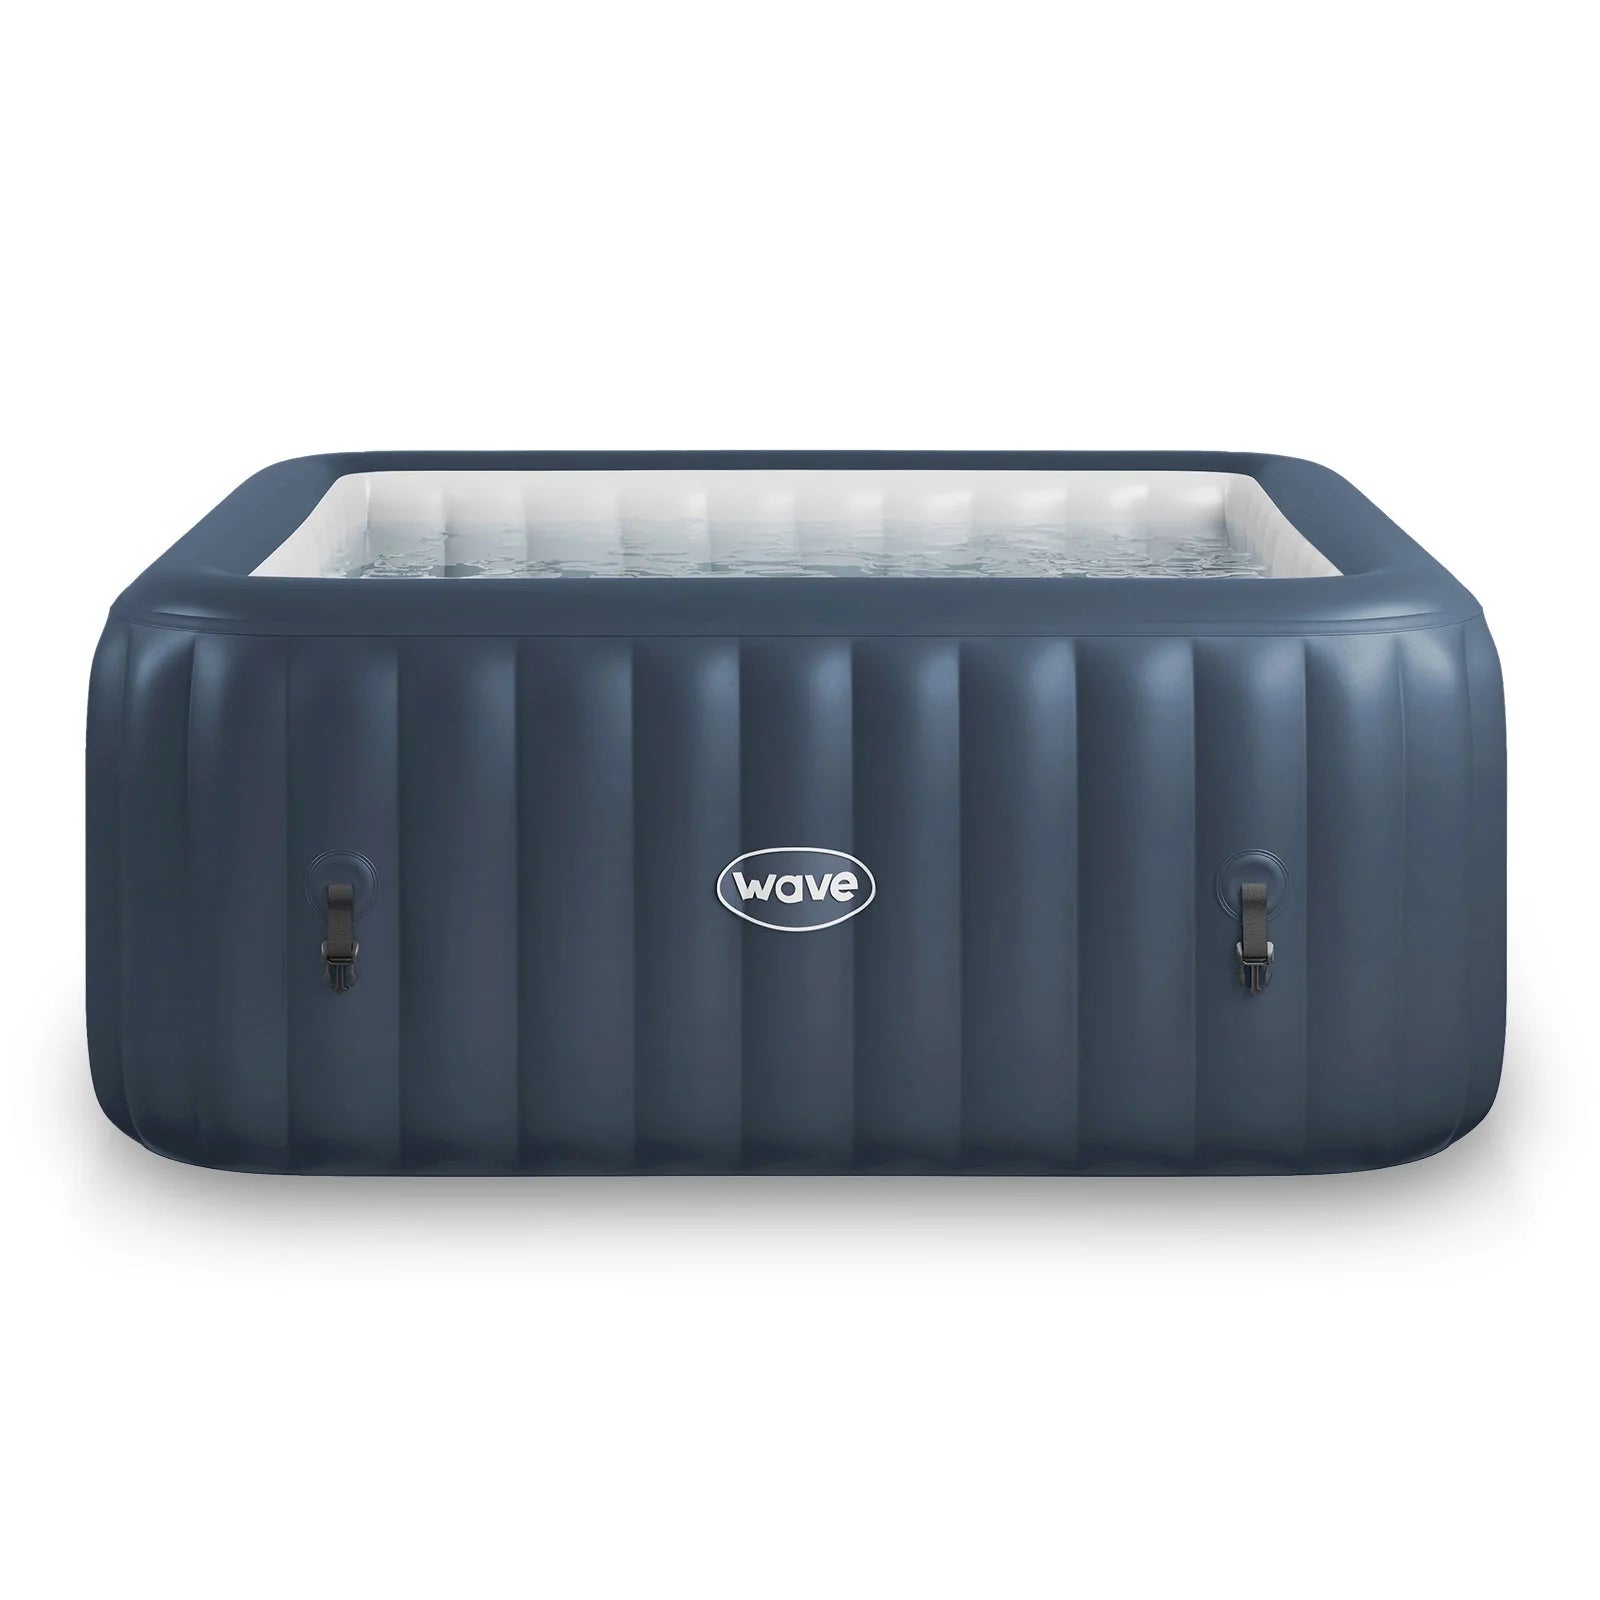
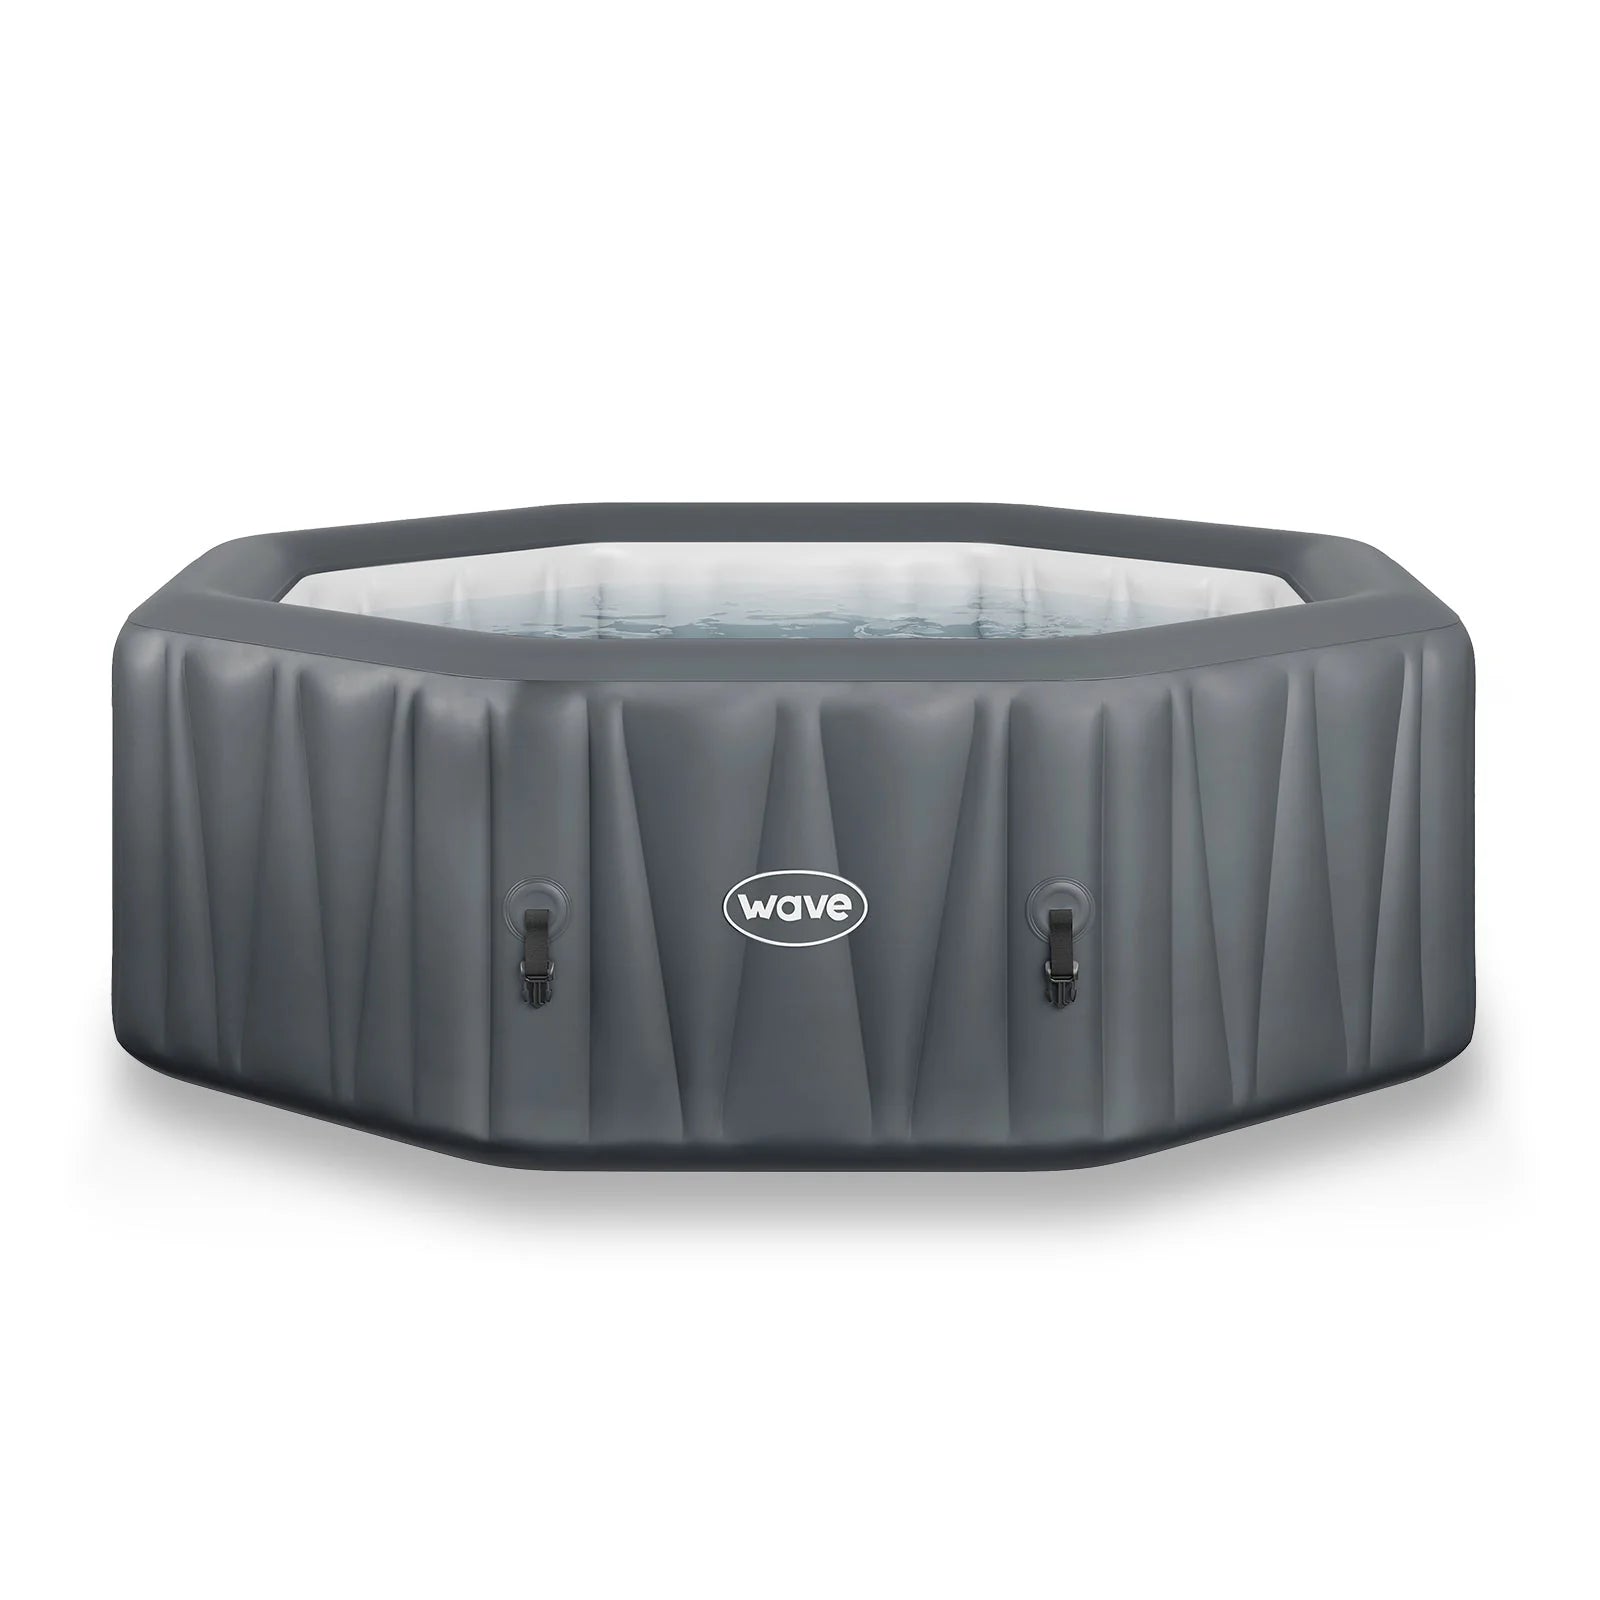
How easy is a Wave hot tub to assemble?
The Eco Foam hot tubs can be put together by anyone without tools in about 30 minutes. Tool Free.
What extras do I need for my hot tub?
We advise purchasing our Pool and Spa starter kit containing all the chemicals you need to keep your hot tub water clean and safe. For added protection and insulation, we recommend using a bubble mat liner and inflatable cover.
What chemicals do I need?
Even the best hot tubs are vulnerable to failure if they’re not approached with adequate TLC (tub loving care). Regular hot tub maintenance will help ensure that your hot tub spa stays clean and clear for relaxing. Keep your tub in pristine condition with our wide selection of hot tub chemicals.
READ OUR GUIDE HERE - HOT TUB CHEMICAL GUIDE

Retailers & Press
Our brand has been featured in top-tier outlets like the BBC, GQ Magazine, Grazia, T3 Magazine, The Independent and The Times. Proudly partnering with leading retailers such as Amazon, Decathlon, Castorama, The Range and Wayfair to bring a new era of relaxation straight to your doorstep.